CHOOKTOPIA®
  • Home
  • Schools
    • Incursion topics
    • Cardinia Incursions >
      • Cardinia Shire kinder programs
      • Cardinia Shire school programs
  • Resources
    • Composting and chooks >
      • Worm farming >
        • Worms and heatwaves
        • Worm Farming FAQs
        • Vermicomposting - Vermihut Worm Farms
      • Bokashi - indoor composting
      • Composting >
        • What's the difference between composting, worm farming and bokashi?
      • Chooks >
        • Feeding Chooks
        • Inspirational Chook Houses
    • Sustainable living >
      • DIY Beeswax Wraps
      • Green films
      • Ethical shopping >
        • Greenwash
        • Palm Oil >
          • Palm Oil Free Products
        • Food >
          • Bottled water
      • Services >
        • Workshops
  • About
    • Blog
    • Our Divisions >
      • Chooktopia
      • Compost Community
      • Wild Emu - marketing
    • Contact us
    • Terms and Conditions
    • Our sustainability
    • Testimonials
    • About the name
  • Shop
  • Staff Portal
    • The Nappy Project
    • Incursions >
      • Worm farming - kinder
      • Minibeasts - kinder
      • Minibeasts - kinder
      • Recycling
      • Embedding sustainability
      • Waste Audit
      • Litter - Primary school
      • Water lesson plans
    • Presentations
    • Festival activities
    • Zoom
    • Internal >
      • Staff Contacts
      • Councils and Contracts
      • Suppliers

Beeswax and vegan wax wraps

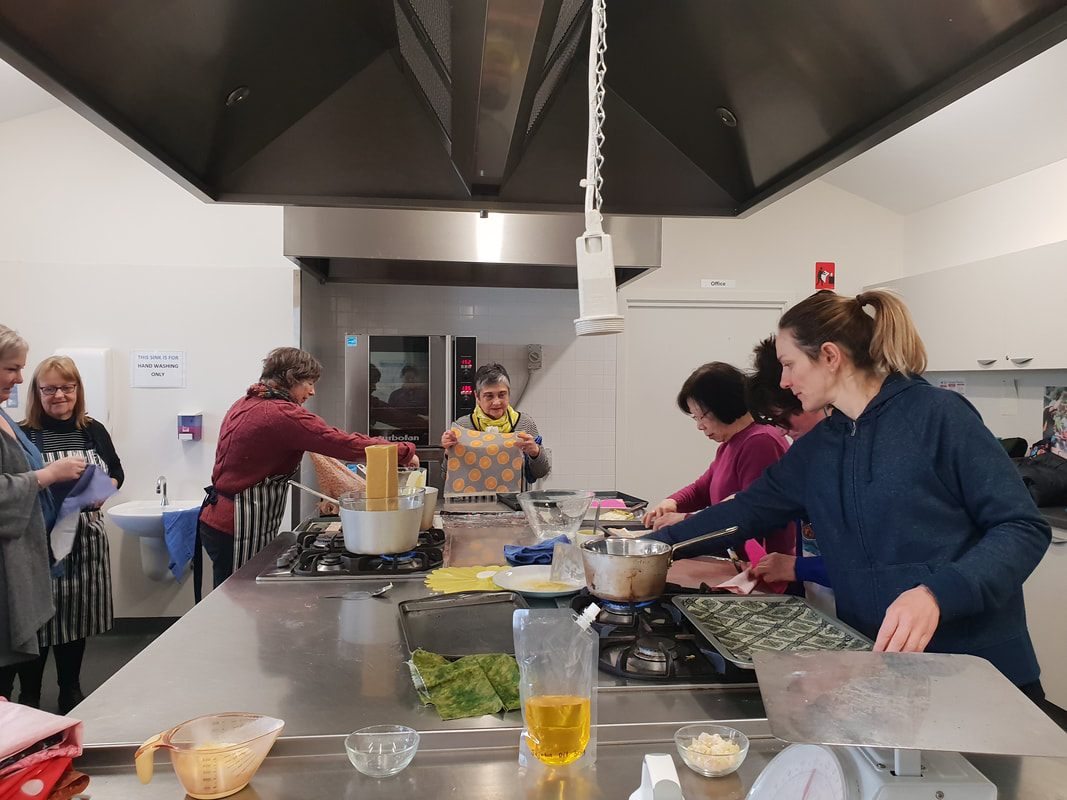
Below are tips and advice coming out of our workshop at Maidstone Community Centre. 
Participant holds up a completed wrap
Pine resin
Workshop participants

DIY beeswax wraps

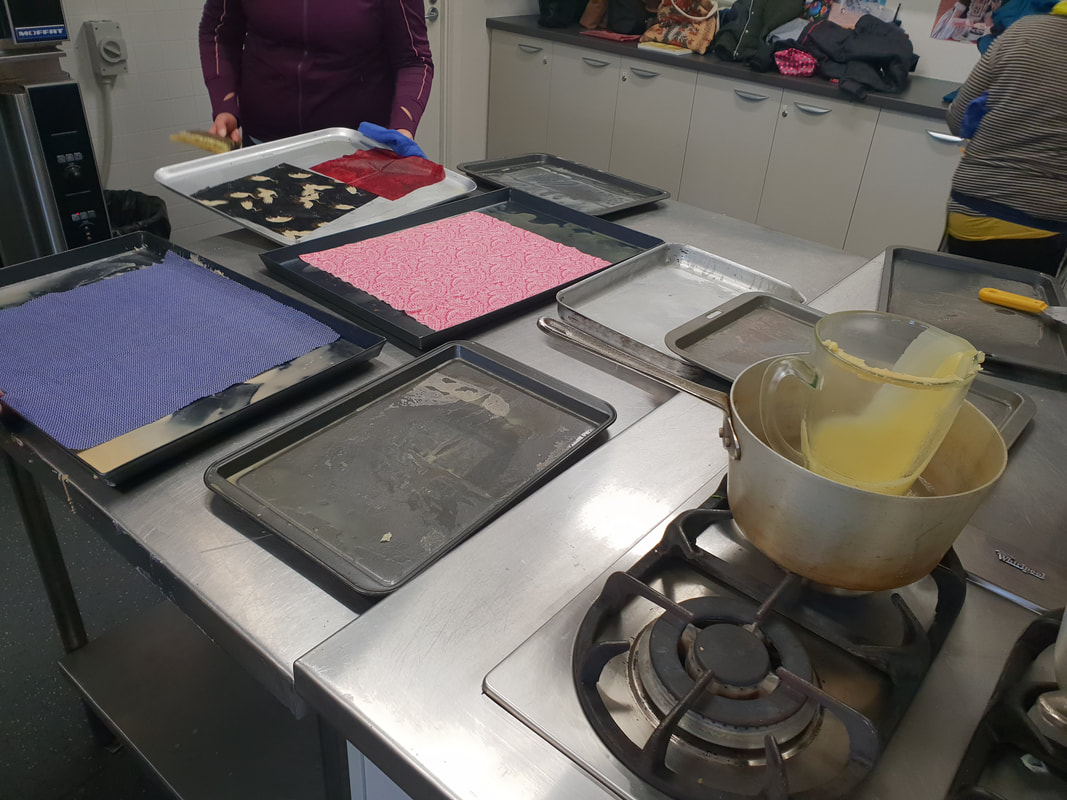
We used three different mixes:
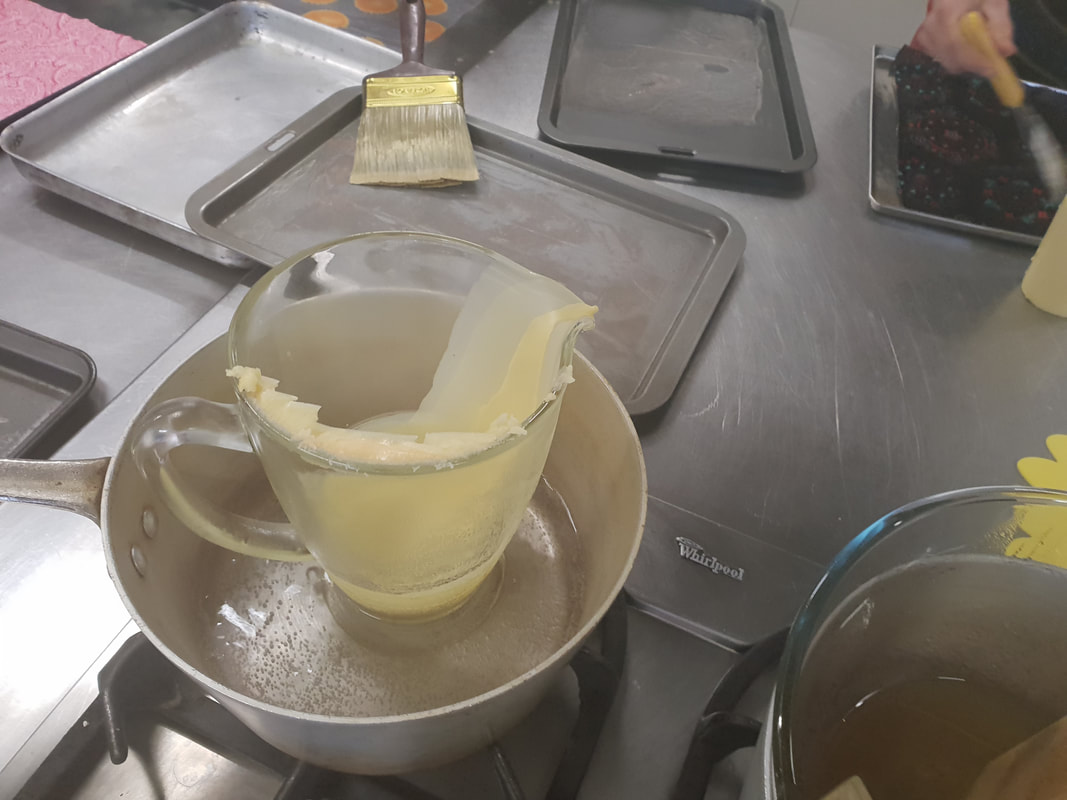
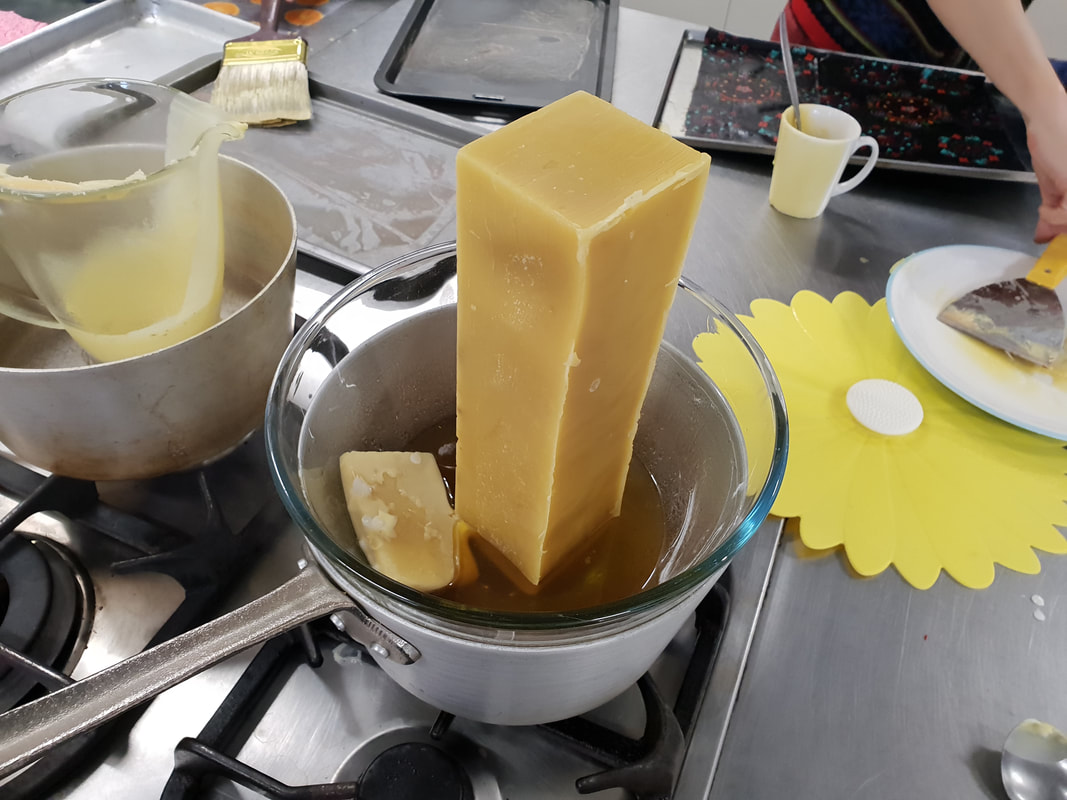
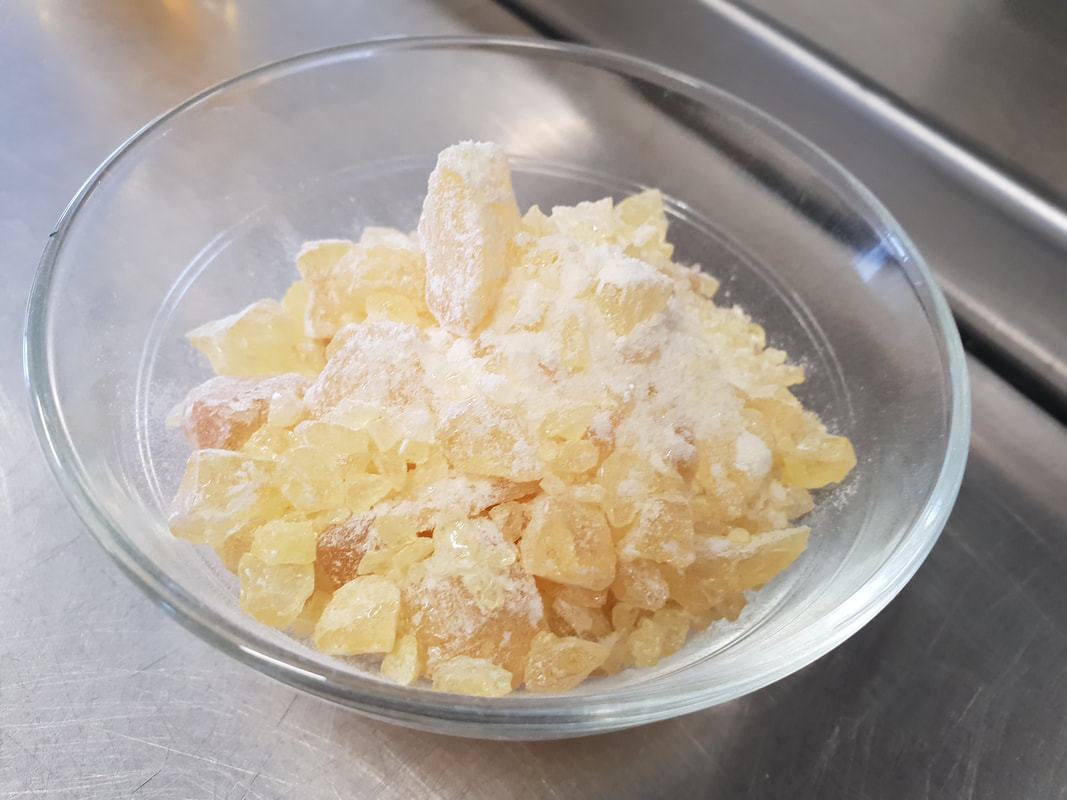
a) grated beeswax melted directly on to the fabric
b) beeswax and jojoba oil melted in a double boiler
​c) recipe below melted in a double boiler

To make one extra large or three medium wraps, we used 85 grams of our wax blend. Our premium blend was made up of:
  • 3 parts beeswax (for a vegan alternative use candelilla wax or non-GMO soy wax)
  • 1 part pine resin (increase resin ratio for a 'stickier' wrap)
  • 1 tablespoons jojoba oil

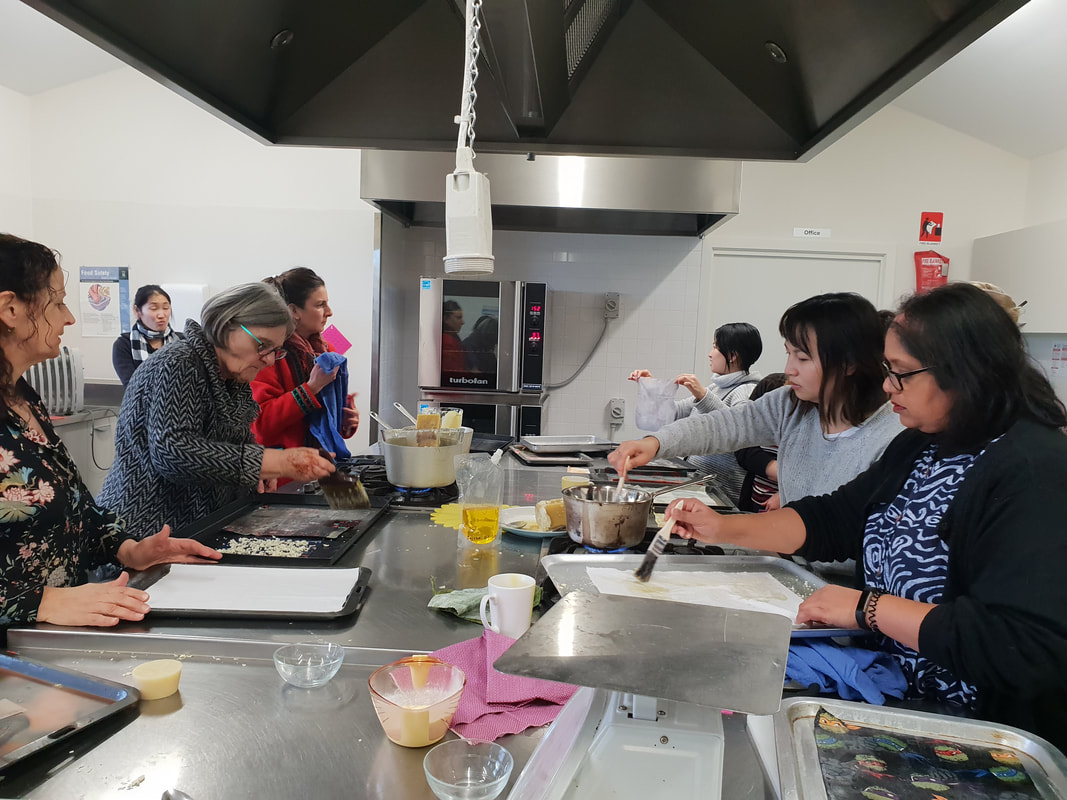
Pre-wash your fabric squares to remove any coatings and excess dyes - we learnt this the hard way with one of our fabrics! We used cotton of varying thicknesses. You could try linen and hemp. I use old sheets at home. 

Equipment
For small scale projects, I use an iron and greaseproof paper. For the workshop we used:
  • Pyrex or metal bowls over saucepans (I might do it directly onto an oven tray next time to reduce cleanup)
  • Ovens and oven trays to keep re-melting the wax if it set too quickly while we were spreading it, as it was cold in the kitchen. 
  • Graters for grating wax
  • Metal spoons for stirring
  • Cups for pouring wax on to fabric on trays
  • Metal and plastic spatulas for spreading wax (metal was easier to clean, and was used in cleanup)
  • Brushes for spreading (we used a large fence paint brush and basting brushes)
  • Fabric, scissors, cooling rack, greaseproof paper etc (we kept it to a minimum in the commercial kitchen)

Cleanup
Cleanup was a nightmare. I stayed back for over 3 hours and didn't get it all finished. I scraped what I could off all equipment for re-use, melted off more in the oven to pour off, and used boiling water, detergent, a scraper, a scourer and a sponge for wash up. Hot water was not hot enough - it had to be above 95 degrees to melt off the wax. The melted wax floats to the surface and solidifies when it cools and can be scraped off (you don't want it going down the drain). This needs to be repeated a few times though. The graters I boiled on the stove to remove the wax. 

The verdict
The method we used was more efficient in a big group than ironing, but in trying to be wastewise and not use greaseproof paper, we needed to use a lot of electricity and water to compensate. 

What I will do differently in future
  • I'm going to use a couple of old oven trays that are dedicated to making wax wraps so that I don't have to go through the enormous cleanup. The bowls, mugs, brushes and spatulas I have already packed away with wax still attached for next time. 
  • I'll keep using the iron and greaseproof paper at home and for small projects. 
  • I'm going to make a bulk mix of the blend and trial various portioning for workshops such as setting into small ice cube containers, and setting flat sheets of wax on greaseproof paper that can then be rolled up or sliced into portions suitable to go straight on to oven trays. 
Vegan options
  • For a vegan alternative use candelilla wax or non-GMO soy wax instead of beeswax.
  • You will need a higher ratio of pine resin to make it 'sticky'. 
  • Use separate equipment so that your vegan mixes don't get contaminated by beeswax.
Storage and cleaning of wraps
  • I just fold my wraps and store them in the kitchen drawer
  • I wipe the wraps and if necessary wash them with a mild detergent in cold water
  • Don't wash them in hot water or put them in the dish washer!
Beeswax is antifungal and antibacterial, thus very hygienic. Pure honey and beeswax has no expiry date - it does not grow mould, does not rot and does not sour. 
Rejuvenating wax wraps
Every time you unfold your wraps, some wax will stick where you don't want it to, and eventually it can become uneven. 
To bring your wraps back to new, wash or wipe them so there is no loose debris/hair stuck to it, place it between two sheets of greaseproof paper and iron it. 
Where to buy materials
Ready-made kits:
  • Local wholefoods/organics shops
  • Etsy
  • Craft markets
  • Online eco stores such as Biome, 

Jojoba oil and pine resin:
  • Eco warehouse ecowarehouse.com.au 
  • Biome biome.com.au 

Beeswax:
  • Make sure it is food-grade and not extracted by chemicals.
  • Any of the above sources sell beeswax
  • Local bee keepers (I bought mine from a bee keeper in The Basin. 
  • Even Bunnings sells small (30g) blocks of beeswax.

Grated beeswax
Workshop in progress
Trying to keep wax melted
Melting a block of beeswax
Workshop participants
Copyright Chooktopia 2025 Established 2011. All rights reserved. 
Chooktopia® is a registered trademark
By appointment only, Langwarrin phone 03 97766559
​Respectfully on Bunurong Country 
Staff login
  • Home
  • Schools
    • Incursion topics
    • Cardinia Incursions >
      • Cardinia Shire kinder programs
      • Cardinia Shire school programs
  • Resources
    • Composting and chooks >
      • Worm farming >
        • Worms and heatwaves
        • Worm Farming FAQs
        • Vermicomposting - Vermihut Worm Farms
      • Bokashi - indoor composting
      • Composting >
        • What's the difference between composting, worm farming and bokashi?
      • Chooks >
        • Feeding Chooks
        • Inspirational Chook Houses
    • Sustainable living >
      • DIY Beeswax Wraps
      • Green films
      • Ethical shopping >
        • Greenwash
        • Palm Oil >
          • Palm Oil Free Products
        • Food >
          • Bottled water
      • Services >
        • Workshops
  • About
    • Blog
    • Our Divisions >
      • Chooktopia
      • Compost Community
      • Wild Emu - marketing
    • Contact us
    • Terms and Conditions
    • Our sustainability
    • Testimonials
    • About the name
  • Shop
  • Staff Portal
    • The Nappy Project
    • Incursions >
      • Worm farming - kinder
      • Minibeasts - kinder
      • Minibeasts - kinder
      • Recycling
      • Embedding sustainability
      • Waste Audit
      • Litter - Primary school
      • Water lesson plans
    • Presentations
    • Festival activities
    • Zoom
    • Internal >
      • Staff Contacts
      • Councils and Contracts
      • Suppliers